


CUSTOM WALL MURALS FOR ANY SPACE
CUSTOM WALL MURALS & WALLCOVERINGS FOR BUSINESSES
WALL MURALS PRINTED TO FIT ANY SIZE WALL
CUSTOM WALL MURALS THAT EXPRESS YOUR BRAND
WIDE SELECTION OF WALL MURALS FOR YOUR SPACE
IMPACTFUL WALL MURALS THAT CREATE TRUST


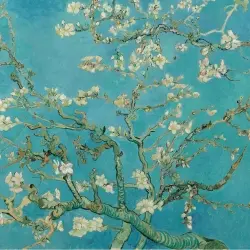
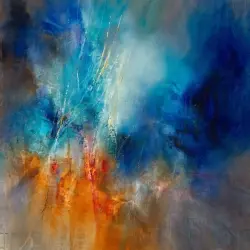
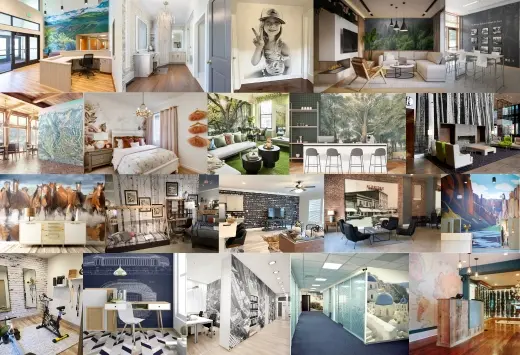
POPULAR WALL MURALS
Explore popular wall murals or browse by category.

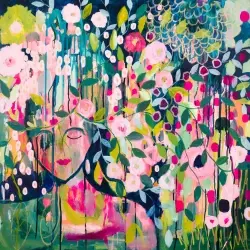

TRENDING WALL MURALS
Explore trending wall mural styles or discover designs by category.

WALL MURALS MADE YOUR WAY.
CUSTOM PRINTED. THOUGHTFULLY DESIGNED. BACKED BY OVER 40 YEARS OF EXPERIENCE.


CREATE A CUSTOM WALL MURAL FROM YOUR PHOTO OR ARTWORK
Upload your own image to transform it into a personalized wall mural or wallpaper. Simply enter your wall dimensions, choose your material, and we’ll take care of the rest. Not sure where to start? Our design team is happy to help you through the process.

UPLOAD YOUR IMAGE

CUSTOMIZE YOUR MURAL

CHOOSE YOUR MATERIAL
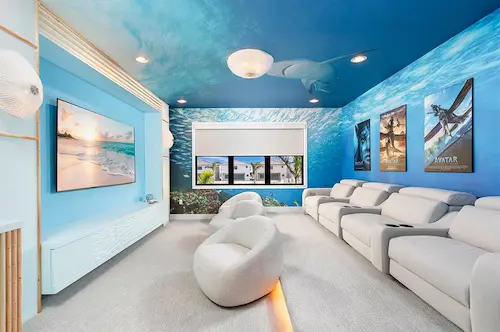
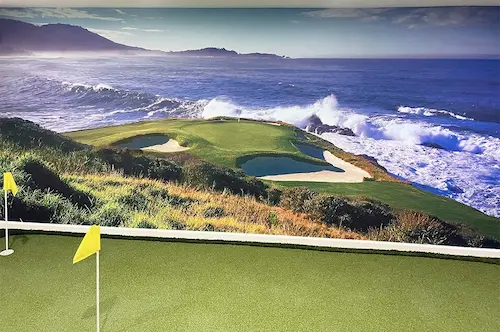
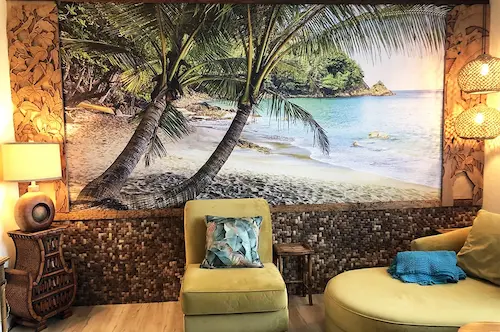
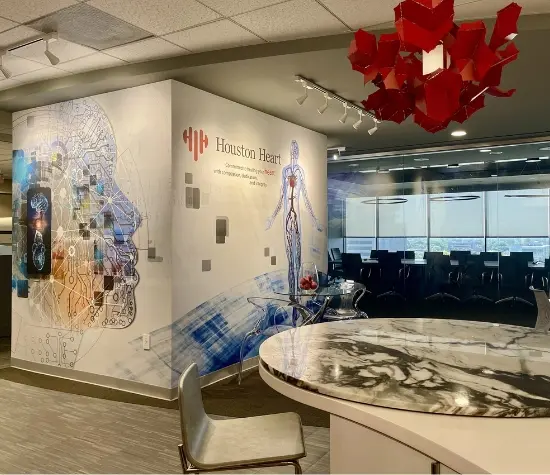
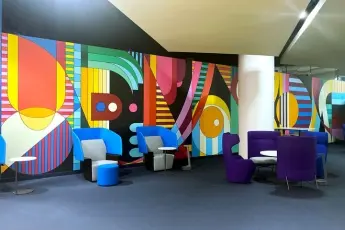
CUSTOMER EXAMPLES
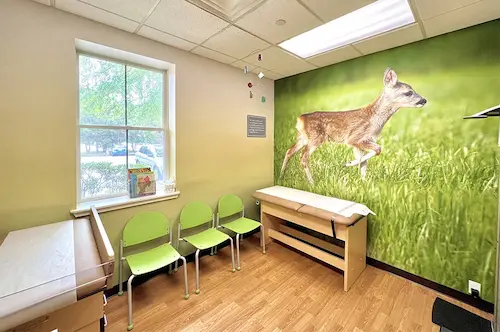
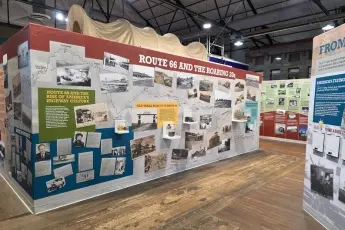
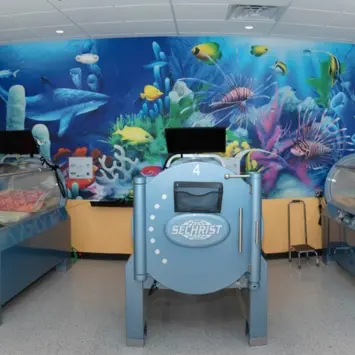
CUSTOM MURAL SOLUTIONS FOR COMMERCIAL SPACES
From one-off feature walls to nationwide rollouts, Murals Your Way provides expert support for every stage — from design customization and material selection to samples and installation advice. As part of Pixelwerx, we also offer complete signage solutions, making us a trusted partner for healthcare, retail, franchise, and design professionals.
TAILORED SOLUTIONS
Designed to reflect your brand, environment, and audience

DESIGN SERVICES
Work with our designers to adjust color, layout or size

COMMERCIAL-GRADE MATERIALS
Durable and fire-rated, ideal for high-traffic areas

EXPERT PROJECT MANAGEMENT
Get help with quotes, proofs, mockups and installation


HOW TO ORDER A WALL MURAL
Creating a custom mural is easier than you think. Whether you're decorating a home, office, or classroom, we make it simple from start to finish. Here’s how to get the perfect mural — made your way.

1.
CHOOSE YOUR IMAGE
Select from thousands of high-resolution designs, or upload your own photo, illustration, or brand artwork.

2.
ENTER YOUR WALL SIZE
Enter your wall dimensions for a perfect fit and instant price preview.

3.
SELECT YOUR MATERIAL
Choose from peel-and-stick, pre-pasted, or commercial-grade materials. Some are eco-friendly. Compare Materials
4.
WE PRINT & SHIP
Every mural is printed in the USA and ships within 2–5 business days — fast, accurate, and made to order.

5.
INSTALL WITH CONFIDENCE
Use our step-by-step Installation Guides or contact our team for expert help.
PROFESSIONALLY PRINTED.
CUSTOM DESIGNED.
TRUSTED NATIONWIDE.
For over 40 years, Murals Your Way has helped homeowners, interior designers, schools, and businesses create personalized wall murals that are high-quality, durable, and uniquely theirs. Our team offers expert support, fast U.S.-based printing, and a satisfaction guarantee — because transforming your space should be simple, creative, and stress-free.
ECO-FRIENDLY MURALS FOR EVERY SPACE
We care about your walls — and the planet. Murals Your Way offers PVC-free, phthalate-free, and low-VOC materials made with post-consumer recycled content. Printed in the USA using sustainable UV-gel inks, our murals are a safe, eco-conscious choice for schools, businesses, and homes. It’s wall art that looks good and feels good.

OUR CUSTOMERS SAY IT BEST
TOP QUESTIONS ABOUT CUSTOM WALL MURALS, WALLPAPER & INSTALLATION
HOW DO I INSTALL MY MURAL?
We include detailed installation instructions with every order, and you can also find step-by-step guides and videos in our Installation Guide.
CAN I CUSTOMIZE THE MURAL TO MY EXACT WALL SIZE?
Absolutely. All murals are made-to-order and sized to fit your space perfectly. You'll provide your dimensions on the mural page.
WHAT MATERIALS DO YOU OFFER?
Choose from peel-and-stick, pre-pasted, or commercial-grade vinyl. Learn more on our materials page.
HOW DO I CHOOSE THE RIGHT MURAL MATERIAL FOR MY SPACE?
It depends on the room and surface. Peel-and-stick is perfect for easy updates, vinyl is best for durability, and pre-pasted wallpaper works great on smooth walls. Compare mural materials.
CAN I CUSTOMIZE THE MURAL DESIGN TO FIT MY SPACE?
Yes! All of our wall murals are made to order. You can personalize the size, crop, and material, and even work with our design team to adjust colors or layout to suit your space.
ARE YOUR PRODUCTS ECO-FRIENDLY?
Yes. Many of our murals are printed using sustainable, PVC-free materials, and all of our murals are printed with low-VOC ink.
WHAT IS BP³ PRICING?
BP³ Pricing stands for Best Product, Best Print, Best Price. It’s our commitment to offering high-quality custom murals with clear, consistent pricing every day—without sales, promo codes, or pricing fluctuations. Learn more on our BP³ Pricing Blog Post.